Forest Guardian

Introduction

This was the first demo project I made during my time at PixlVisn and also the first character I both modeled and textured.

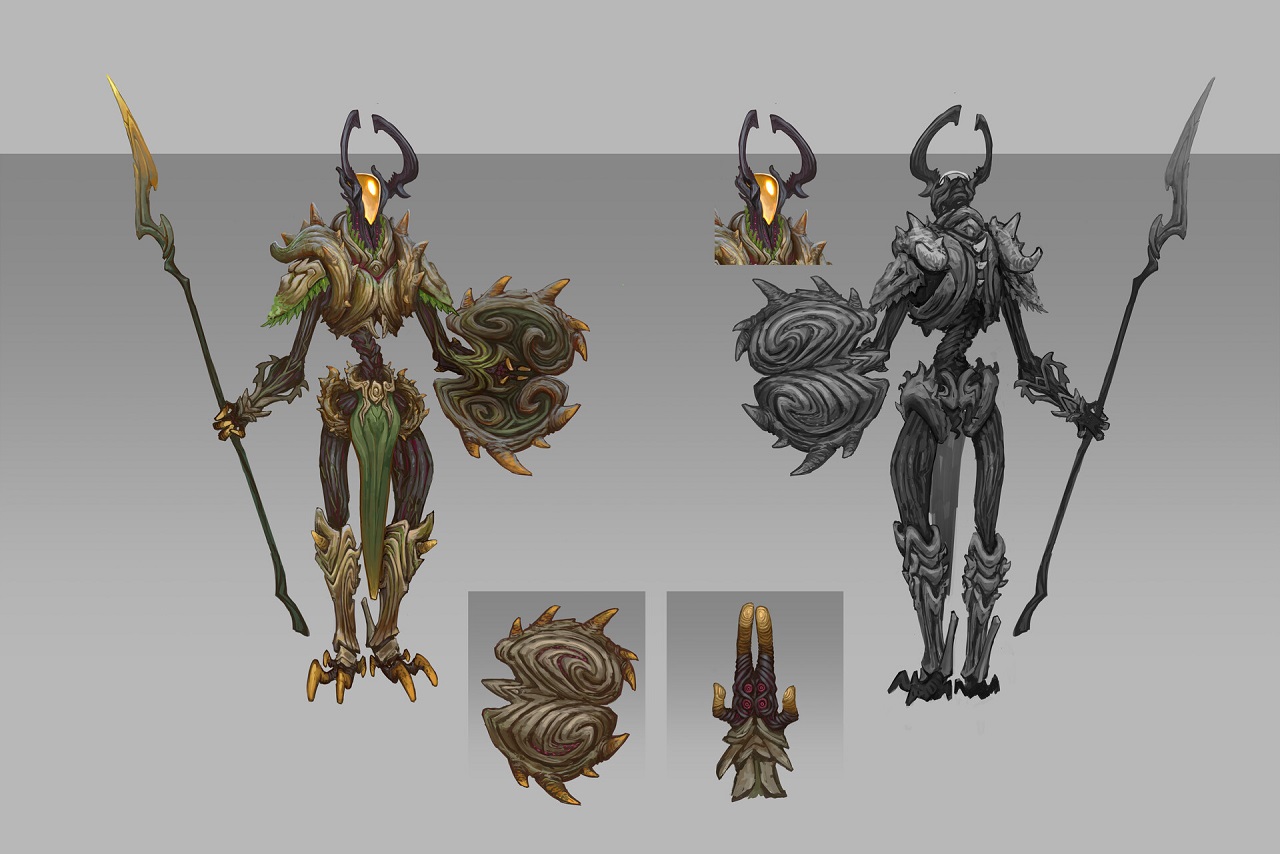
I followed a reference image by Ivan Maslennikov, which I found on artstation. Still, I decided to adjust the different materials and surfaces in a way that made sense in 3D.

Modelling and Sculpting

I began by importing my reference into ZBrush and blocking out the rough proportions of the character.

After they had a good feel from every angle, I refined each section of the character multiple times and decided what parts should be connected and what parts should be separated.

Once all parts had the right form, I went into detail sculpting for imperfections such as wood grain.

Texturing and LookDev

When I finished my model, I retopologized it in Maya and did the UVs in RizomUV. Then, I baked the original sculpt onto my retopologized model to create displacement maps in Mudbox.

The other maps generated, such as the curvature map, were useful for texturing in Mari.

After that, I combined it all in Maya, rendered my character using Arnold, and finally did the compositing and color correcting in Nuke.

Conclusion

I enjoyed the creative process of creating a 3D character from a 2D reference a lot. Sculpting is an entirely different process compared to hard surface modeling, and it is great for adding small details, although often, a mix of both techniques is the best approach.

I am quite content with how this character turned out and would love to make more in the future.